

Candle Care 101: Extending the Life of Your Luxury Beeswax Candle
One question we get asked all the time at our candle-making workshops and events is: "How do I make my beautiful candle last longer?" I totally get it! When you invest in a high-quality, hand-poured beeswax candle, you want to enjoy every minute of that warm, cozy glow and delicious fragrance.
Today, I'm sharing my favorite insider tips on how to care for your luxury beeswax and coconut oil candles to maximize their burn time and keep them looking and performing beautifully. These simple techniques have helped our customers get up to 30% more burn time from their favorite Chix and Wix candles!
The First Burn: Setting Your Candle Up for Success
The first time you light your candle might not seem like a big deal, but trust me — it's actually the most important burn of your candle's life! This initial burn establishes the "memory ring" that will affect how your candle burns for its entire lifespan.
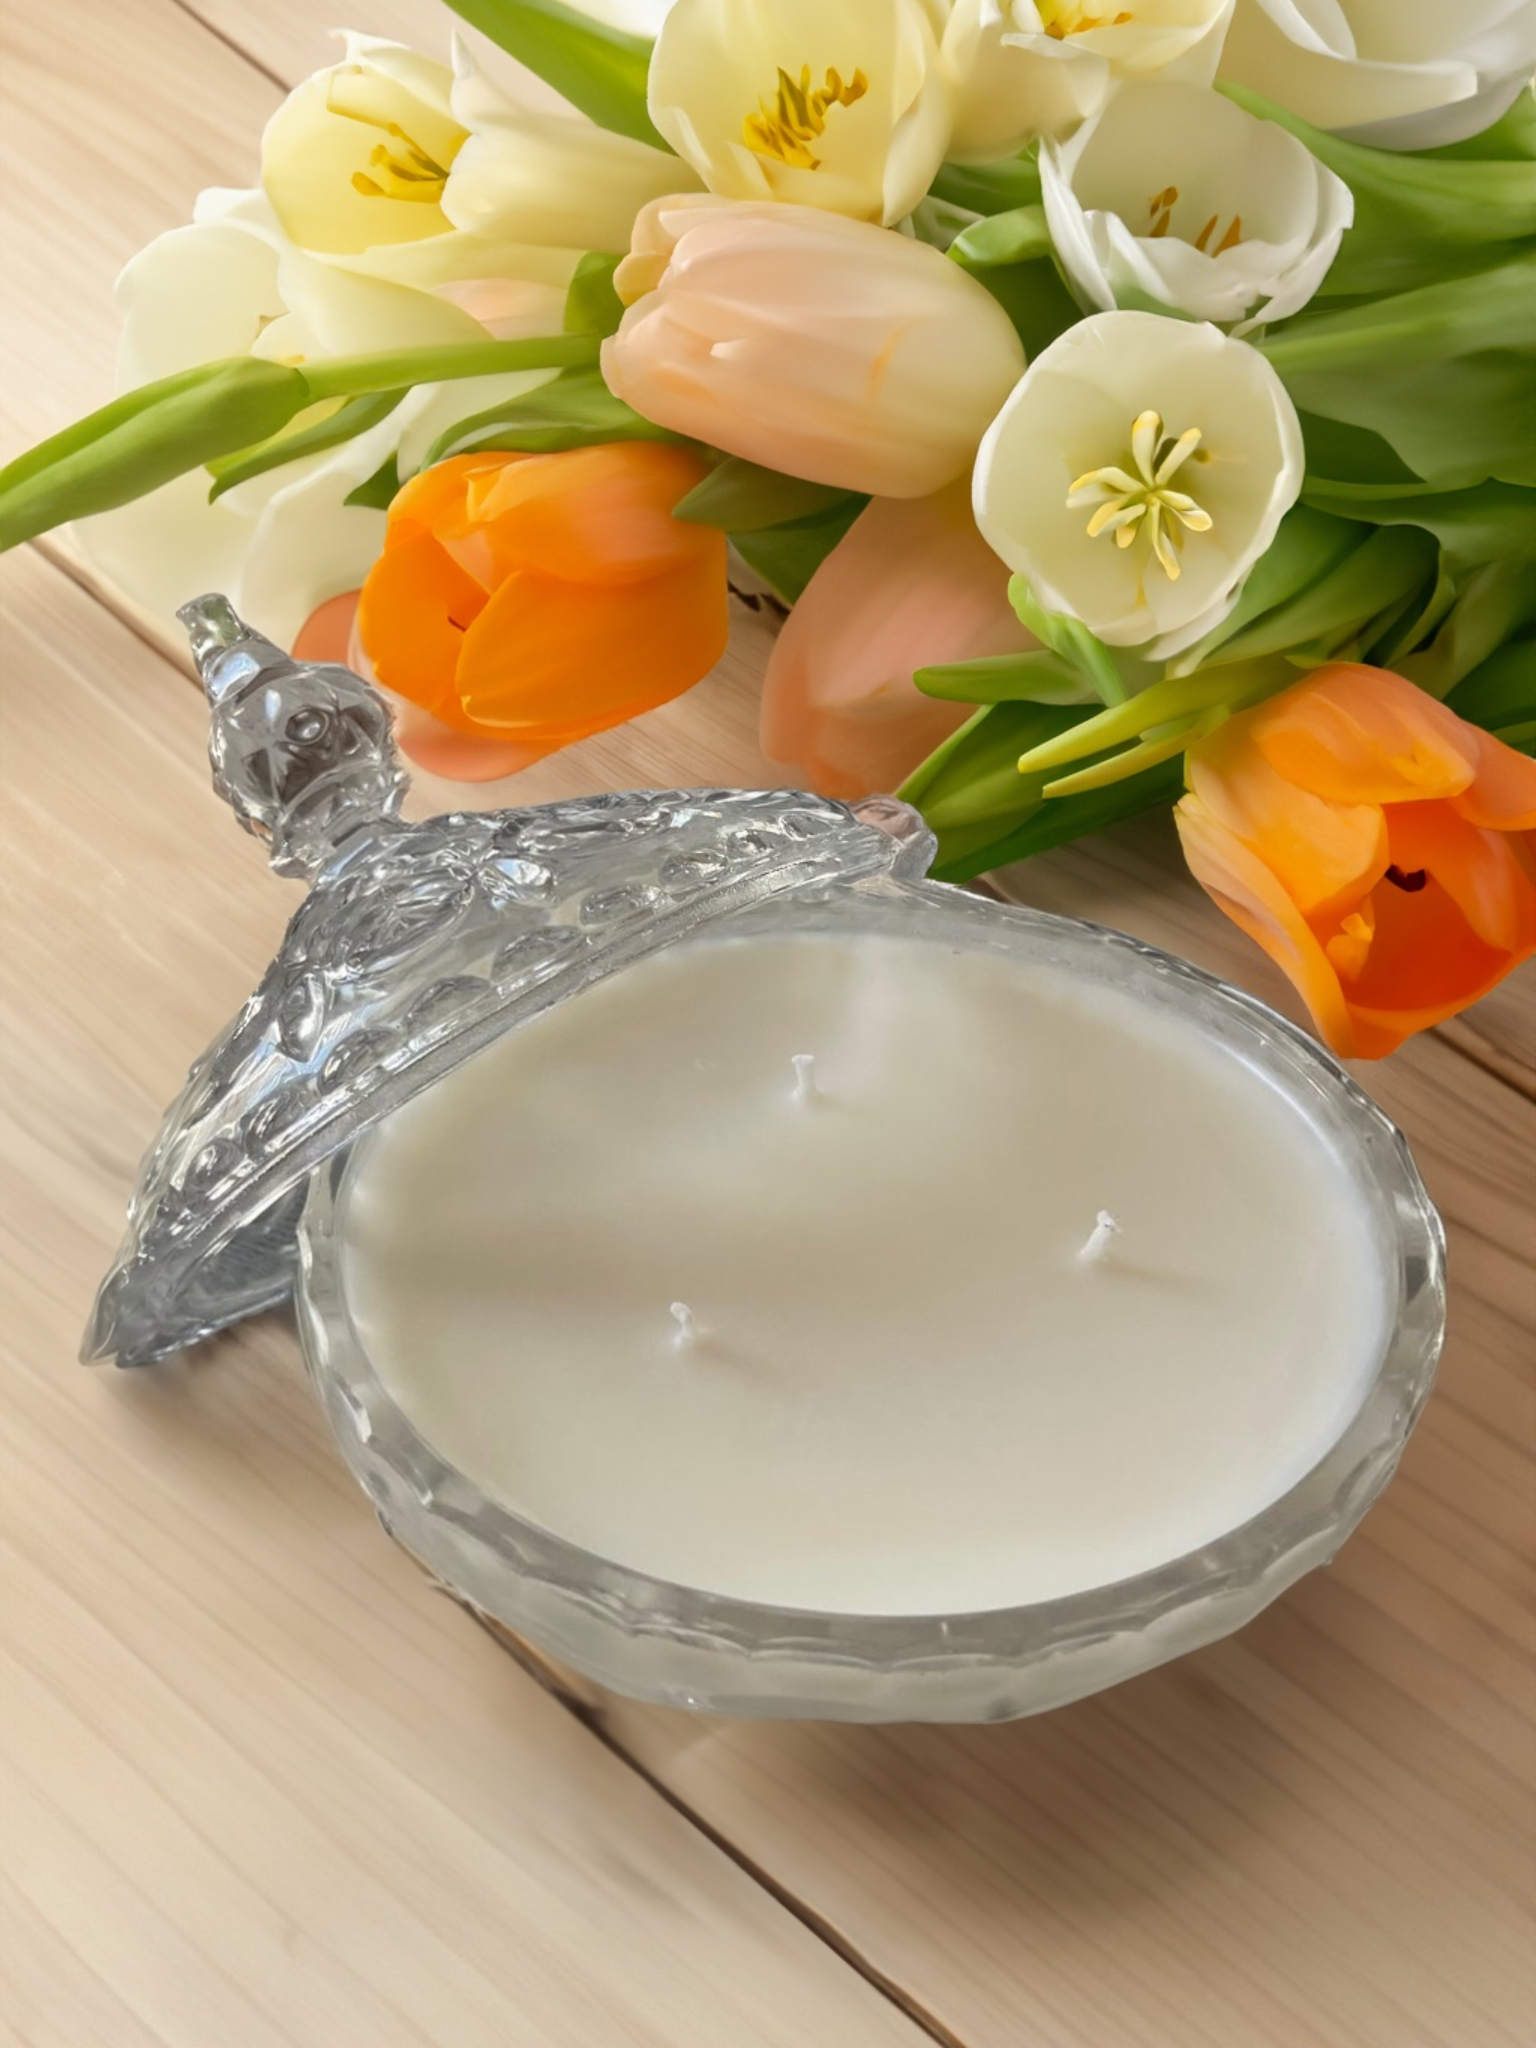
The Golden Rule: Allow your candle to burn until the entire top layer of wax has melted completely to the edges of the container. Depending on the size of your candle, this could take anywhere from 2-4 hours.
Why is this so crucial? Beeswax has a higher melting point than other waxes, and if you don't allow it to melt completely across the top during that first burn, you'll create something called "tunneling." This is when the candle burns straight down the middle, leaving wax stuck to the sides of the container — essentially wasting it!
I learned this the hard way with one of my first test candles. I only burned it for 30 minutes before blowing it out, and from then on, it never burned properly. Don't make my mistake!
The Perfect Trim: Why Wick Maintenance Matters
One of the simplest yet most effective ways to extend your candle's life is proper wick maintenance. Our beeswax and coconut oil candles use cotton wicks specifically sized for optimal burning, but they still need a little TLC.
Before each burn: Trim your wick to approximately 1/4 inch. This helps prevent excessive smoke, mushrooming (that little carbon ball that forms at the tip), and too-large flames that can burn through your wax too quickly.
I keep a small pair of wick trimmers next to my candle collection, but clean scissors work just as well. Just be careful not to let the trimmed bits fall into the melted wax!
The 2-Hour Rule: Timing Your Burns
Have you ever noticed that some candles seem to disappear so quickly? The way you schedule your burn sessions can dramatically affect how long your candle lasts.
Best practice: Don't burn your candle for less than 1 hour or more than 4 hours at a time.
Burning for too short a time doesn't allow the melt pool to reach the edges, contributing to tunneling. Burning for too long can cause the container to overheat and the wick to absorb too much wax, leading to a diminished flame or even safety hazards.
I find the sweet spot is about 2-3 hours of burn time per session. This is perfect for a cozy dinner or a relaxing evening bath ritual. It's also why our Sip & Pour candle-making workshops are 2 hours long — the perfect amount of time to enjoy ambiance while protecting your candle investment!
Location, Location, Location: Where to Place Your Candle
The environment around your candle significantly impacts how it burns. Here are some positioning tips that can help extend your candle's life:
- Avoid drafts: Air currents cause uneven burning and can dramatically reduce burn time. Keep candles away from open windows, air vents, fans, and high-traffic areas.
- Create a draft-free zone: If you notice your flame flickering excessively or leaning to one side, try rotating the candle or moving it to a more protected location.
- Keep it level: Always place your candle on a flat, heat-resistant surface to ensure even melting.
In our home, I've designated specific candle spots that I know are protected from drafts. My favorite is on our kitchen island, away from the cooking area but perfect for creating that warm, welcoming atmosphere when friends and family gather.
The Luxury of a Clean Burn: Preventing Soot and Debris
One of the joys of our natural beeswax and coconut oil candles is their clean-burning nature compared to paraffin alternatives. However, even the cleanest candle can develop issues if not properly maintained.
For the cleanest burn:
- Remove dust from the wax surface before lighting
- Keep the melt pool free of wick trimmings or matches
- Extinguish flames properly (more on that below!)
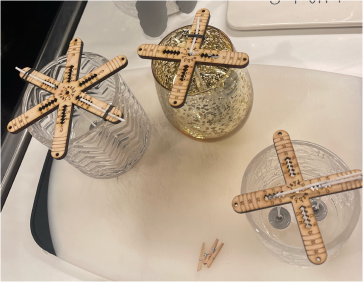
- Store candles with their lids on when not in use
These simple steps help prevent any debris from falling into the melted wax, which can create additional smoke or affect the fragrance throw.
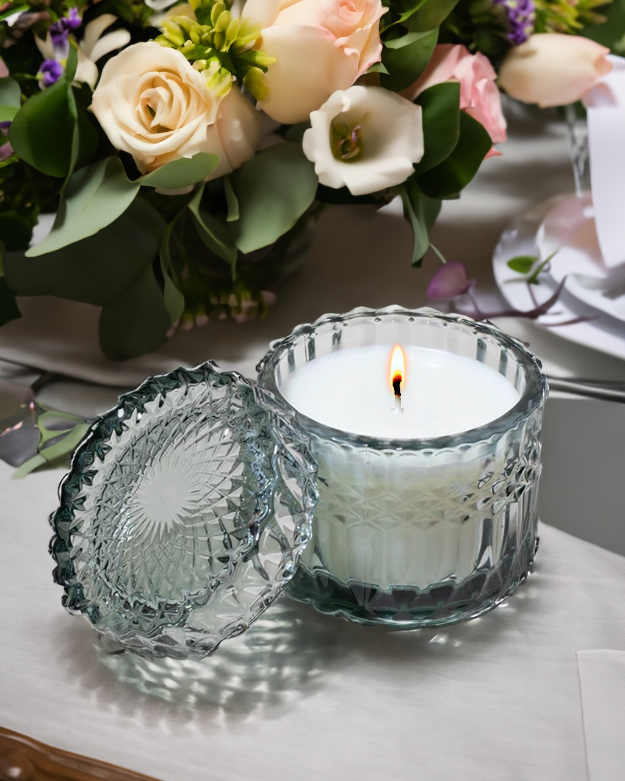
The Art of Extinguishing: How to Put Out Your Candle
How you extinguish your candle can actually affect its longevity! The wrong technique can cause smoke damage to the container and affect future burns.
The best method: Use a candle snuffer or dip the wick into the melted wax and then straighten it back up. This prevents smoke and also primes the wick for its next lighting.
Please avoid: Blowing out your candle, which can send wax spattering and create smoke that affects the fragrance.
The Refill Revolution: The Ultimate Sustainability Hack
When you've enjoyed every last bit of your Chix and Wix candle, don't toss that beautiful container! Our refill program is the ultimate way to extend the life of your candle investment.
For just $1.50 per ounce, we'll clean out your container, remove any remaining wax, and pour fresh beeswax and coconut oil blend in your choice of fragrance. It's economical and ecological!
I personally love seeing our customers bring back their vessels for refills. It's like greeting old friends, and I love hearing the stories of how our candles have brightened their homes and special moments.
Seasonal Storage: Protecting Your Candle Collection
If you're like me and have a seasonal rotation of fragrances, proper storage is key to maintaining their quality when not in use.
Storage tips:
- Keep candles in a cool, dry place away from direct sunlight
- Use the original lids to protect the wax surface
- Store upright to maintain the centered position of the wick
- Keep scents separated to prevent fragrance transfer
In my home, I have a dedicated cabinet in our guest room closet just for my "resting" candles. It keeps them perfect until their season comes around again!
Join Us to Learn More!
Want to learn even more candle care tips while creating your own custom scent? Join us at our next Sip & Pour workshop while I share all my candle-making and candle-care secrets!


Hand-poured in kitchens:
Round Hill & Hamilton Virginia
Be the first to know
SECURE PAYMENTS